Learn how to create an effective 360° virtual tour for real estate, from selecting the right rooms and camera positions to preparing panoramic images and connecting interactive viewing points. Discover the essential steps to deliver an immersive and engaging property viewing experience.
A successful 360° virtual tour involves more than capturing panoramic images. The experience needs to guide viewers through the property, highlight important spaces, and present each room from a natural perspective.
For real estate developers and property marketers, thoughtful planning is essential. The selected camera positions, room coverage, lighting, and visual consistency all influence how viewers experience the property.
Here is how to plan and create an effective 360° virtual tour.
The first step is to determine whether the property is already built.
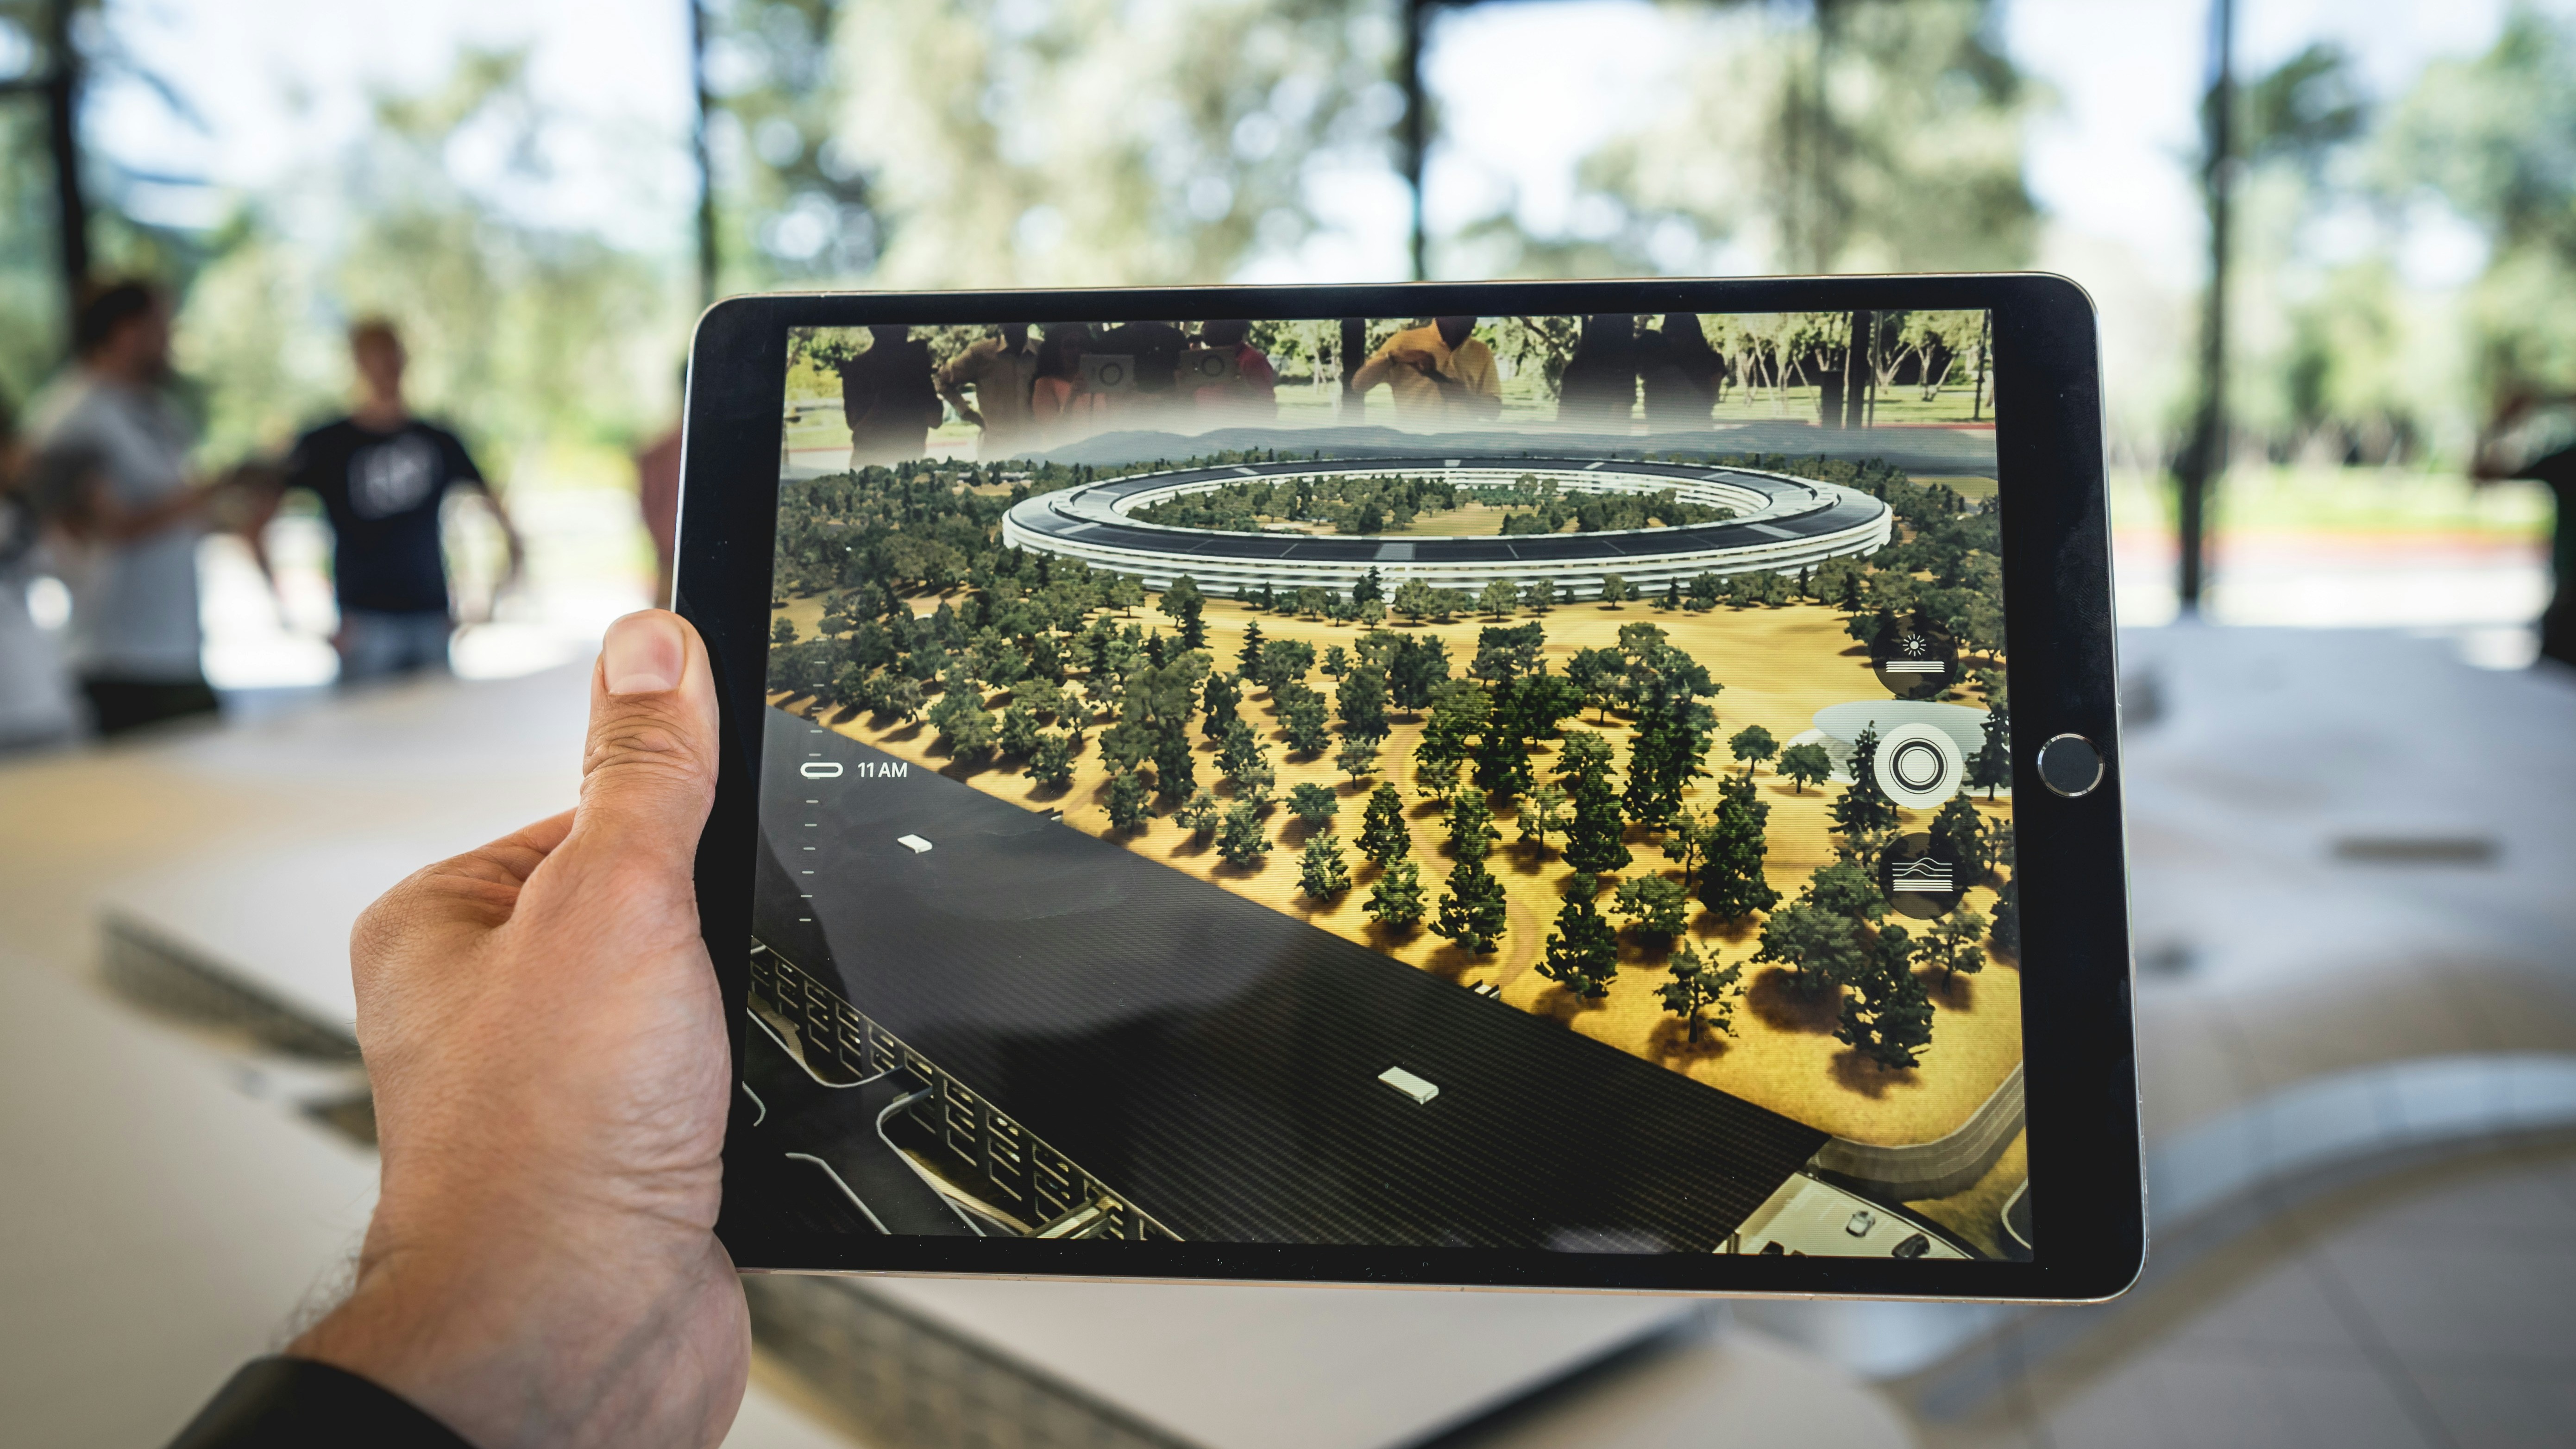
For completed properties, a 360° camera or 3D scanning system can capture the existing rooms. For properties that are still under construction or in the planning stage, a rendered tour can be produced from architectural drawings and design specifications.
This decision determines the equipment, files, and production process required.
Each panoramic image represents one standing point: a specific camera position from which viewers can look around.
A tour does not necessarily need to include every corner of the property. Instead, prioritize the spaces that matter most to prospective buyers or tenants.
Common viewing positions include:
Main living area: Show the property's primary shared space, including its layout and main window views.
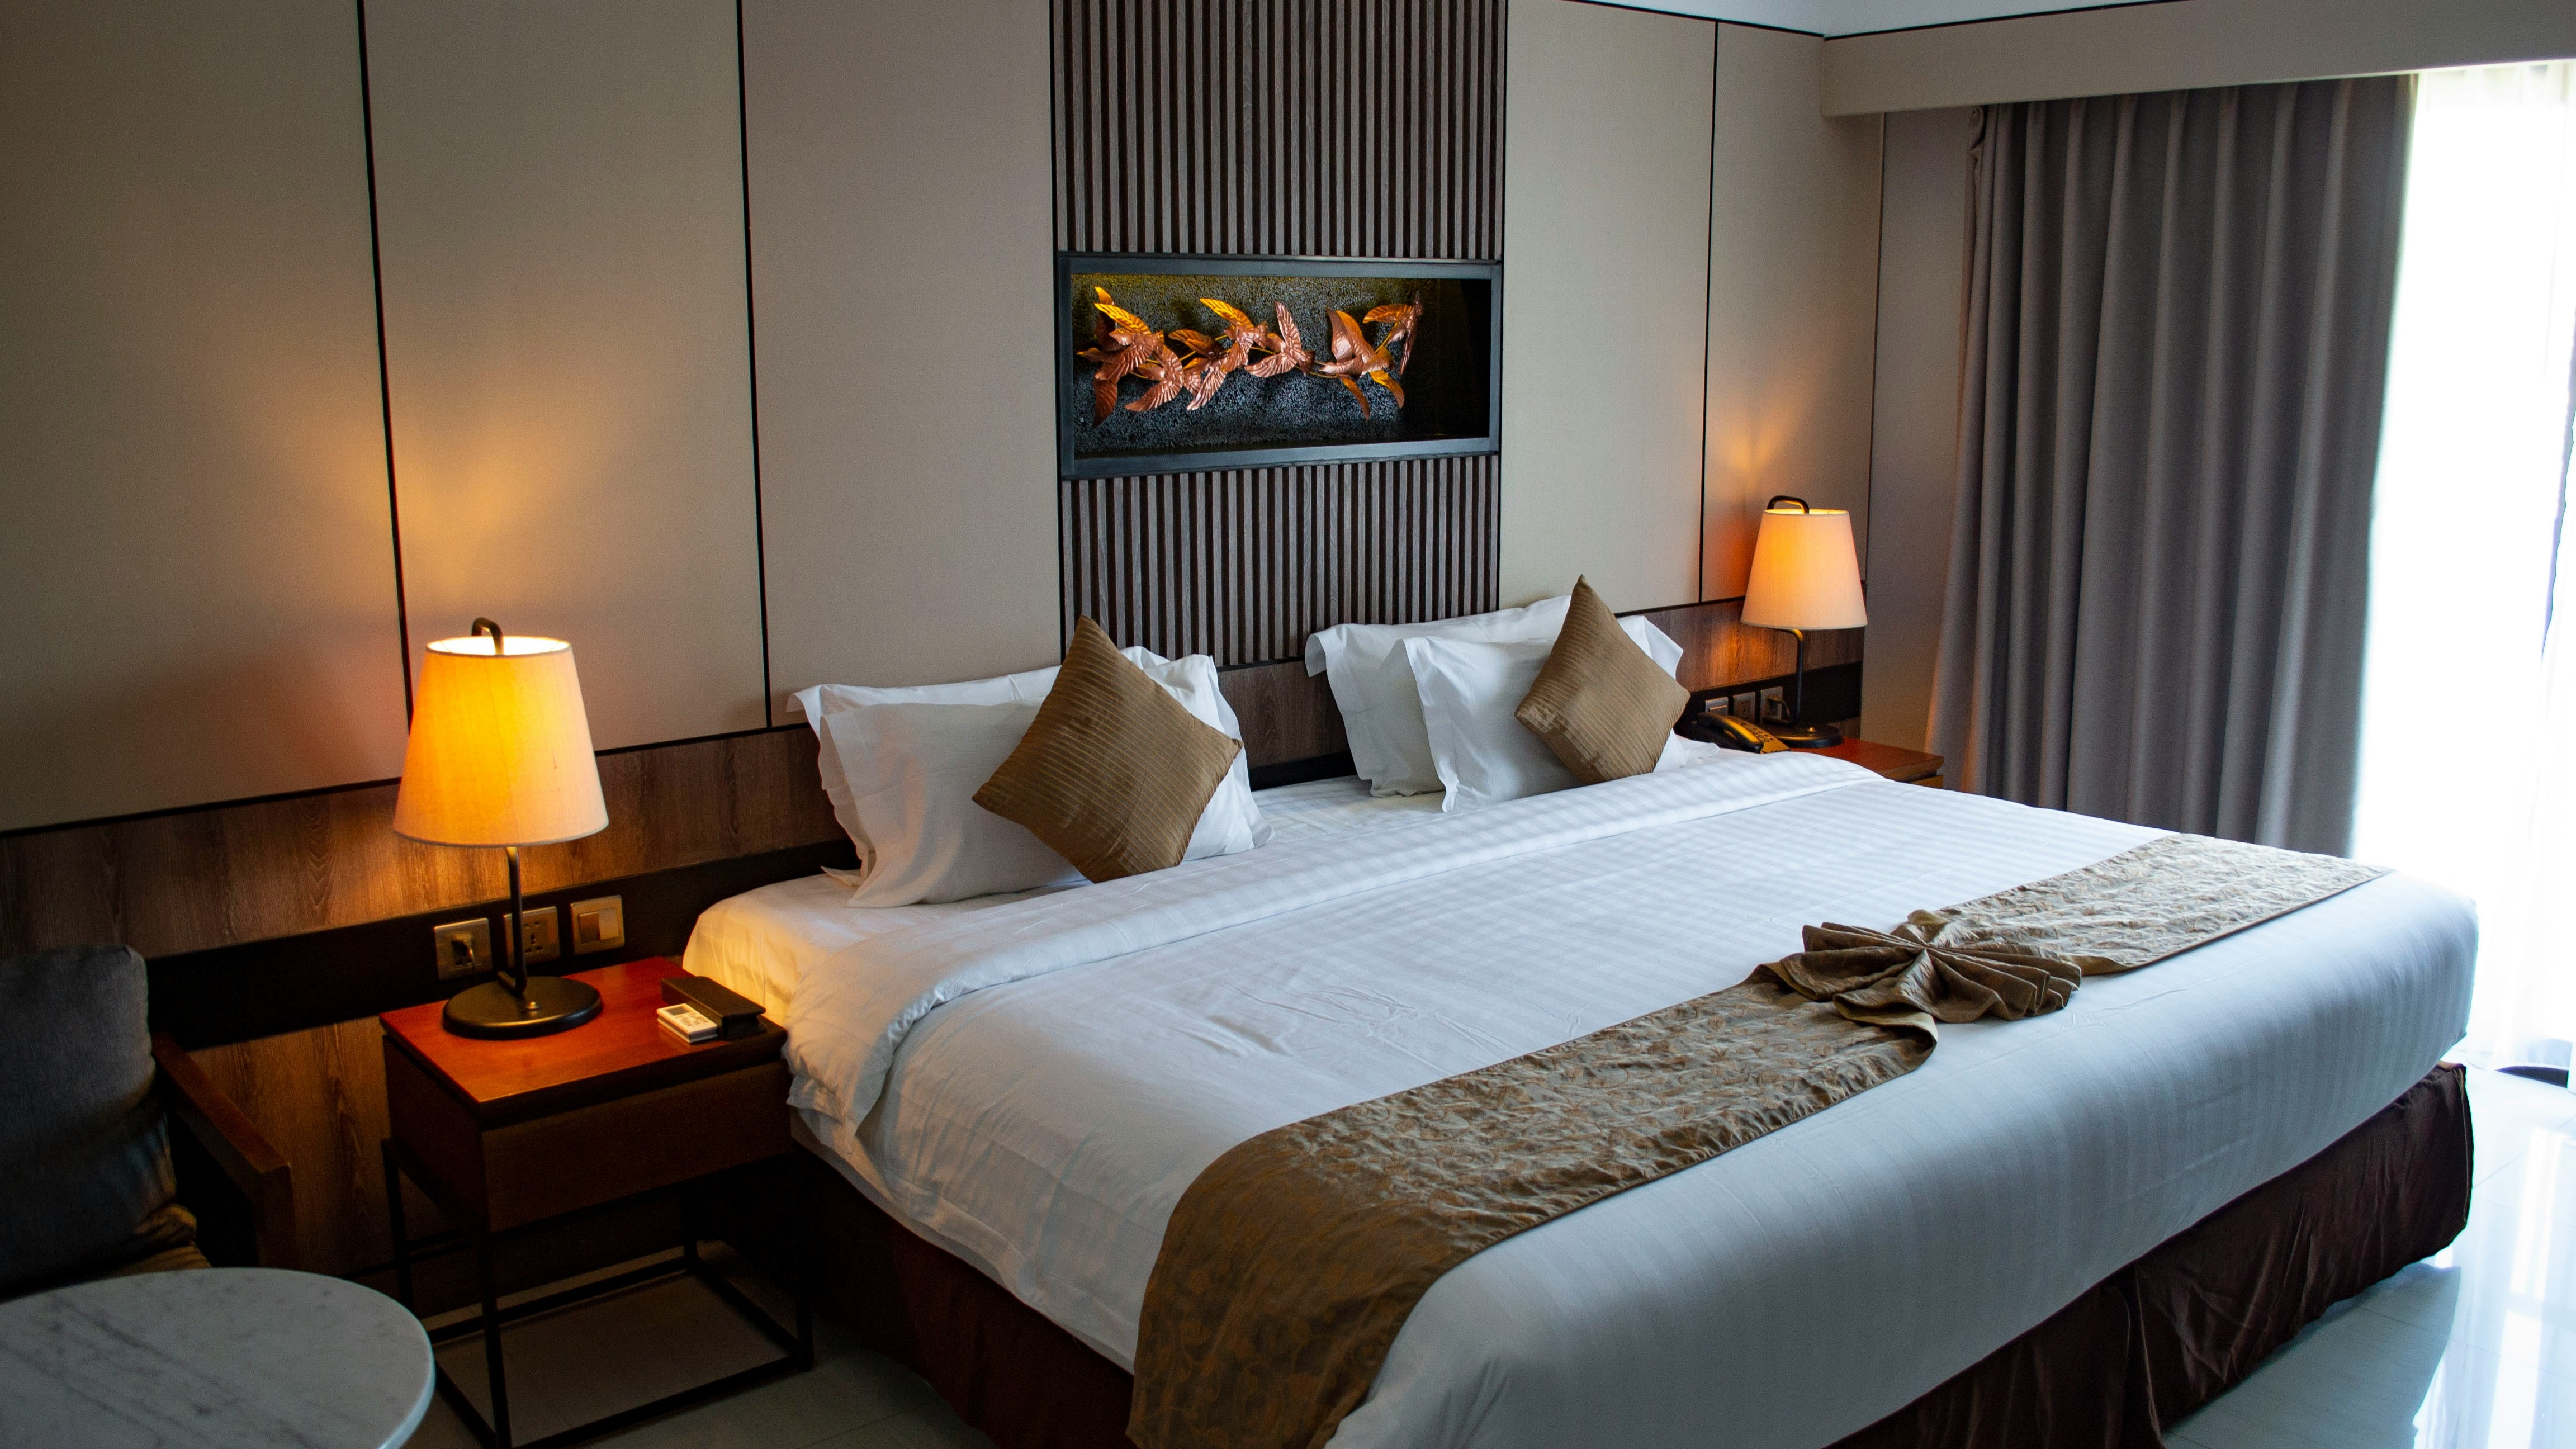
Primary bedroom: Give viewers an understanding of the bedroom's proportions and interior arrangement.
Kitchen: Include it when it is part of an open-plan living area or an important selling feature.
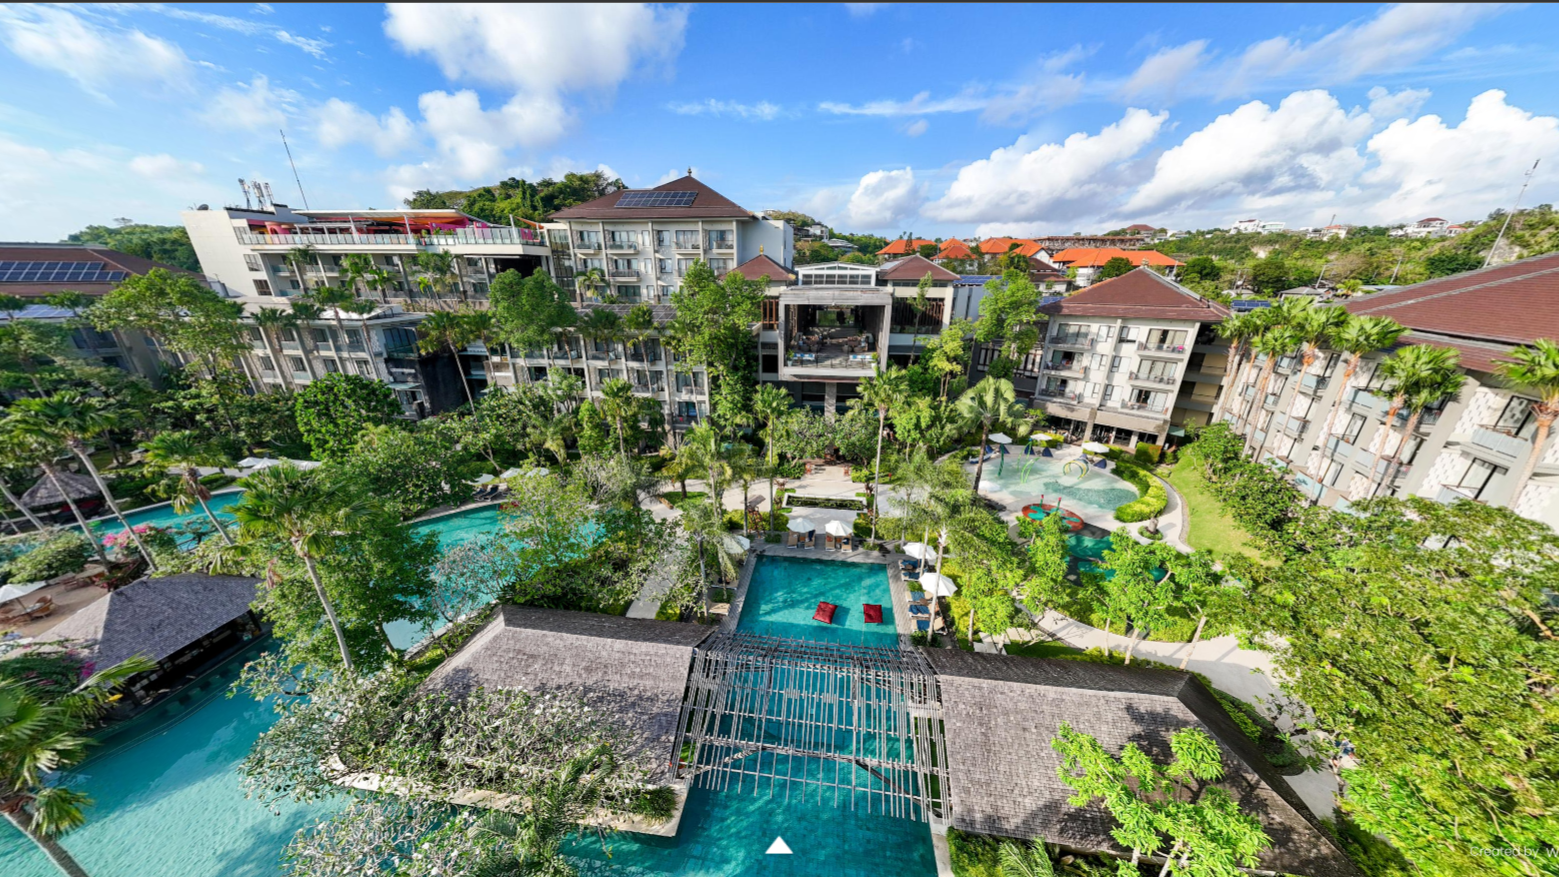
Outdoor area: Add a terrace, balcony, or entrance approach to communicate the property's relationship with its surroundings.
Shared amenities: Consider spaces such as a lobby, pool deck, or courtyard when they contribute to the property's overall appeal.
For off-plan apartment projects, the living room and terrace may be sufficient as an initial presentation. Additional viewing positions can be included when the marketing requirements call for broader coverage.
Camera height affects how viewers perceive the proportions of a room.
For a conventional standing perspective, the source recommends positioning the camera approximately 1.5 to 1.6 meters above the floor. Keeping the height consistent across different rooms helps create a more natural and cohesive experience.
A camera positioned too high may make the room feel miniature, while a camera positioned too low can make the ceiling dominate the view.
For rendered tours, camera positions should be agreed upon during the early 3D modeling stage. Adjusting a camera before materials and lighting are added is generally easier than changing it after the panorama has been rendered.
The preparation process depends on the type of tour.
For a finished property, make sure the rooms are ready for photography:
Turn on the lights.
Open the doors and blinds.
Remove people and pets from the capture area.
Keep the rooms tidy and visually consistent.
Position the camera near the middle of each room where practical.
A 360° camera captures the entire surrounding environment, so unwanted objects or people can appear in the final panorama.
For a rendered tour, preparation starts with the 3D scene. The architectural layout, materials, furniture, lighting, and surrounding environment need to be established based on the project references.
For a finished property, the camera captures a panoramic image at each selected standing point. These images are then uploaded to a virtual tour platform.
For an off-plan property, a 3D visualization team builds the environment from architectural drawings and produces the panoramic renders.
Before finalizing the images, review the camera positions, room proportions, lighting, materials, and views through the windows. In a panorama, viewers can turn in every direction, so areas outside the main viewing angle also need attention.
Individual panoramas become a navigable tour when they are connected through a virtual tour platform.
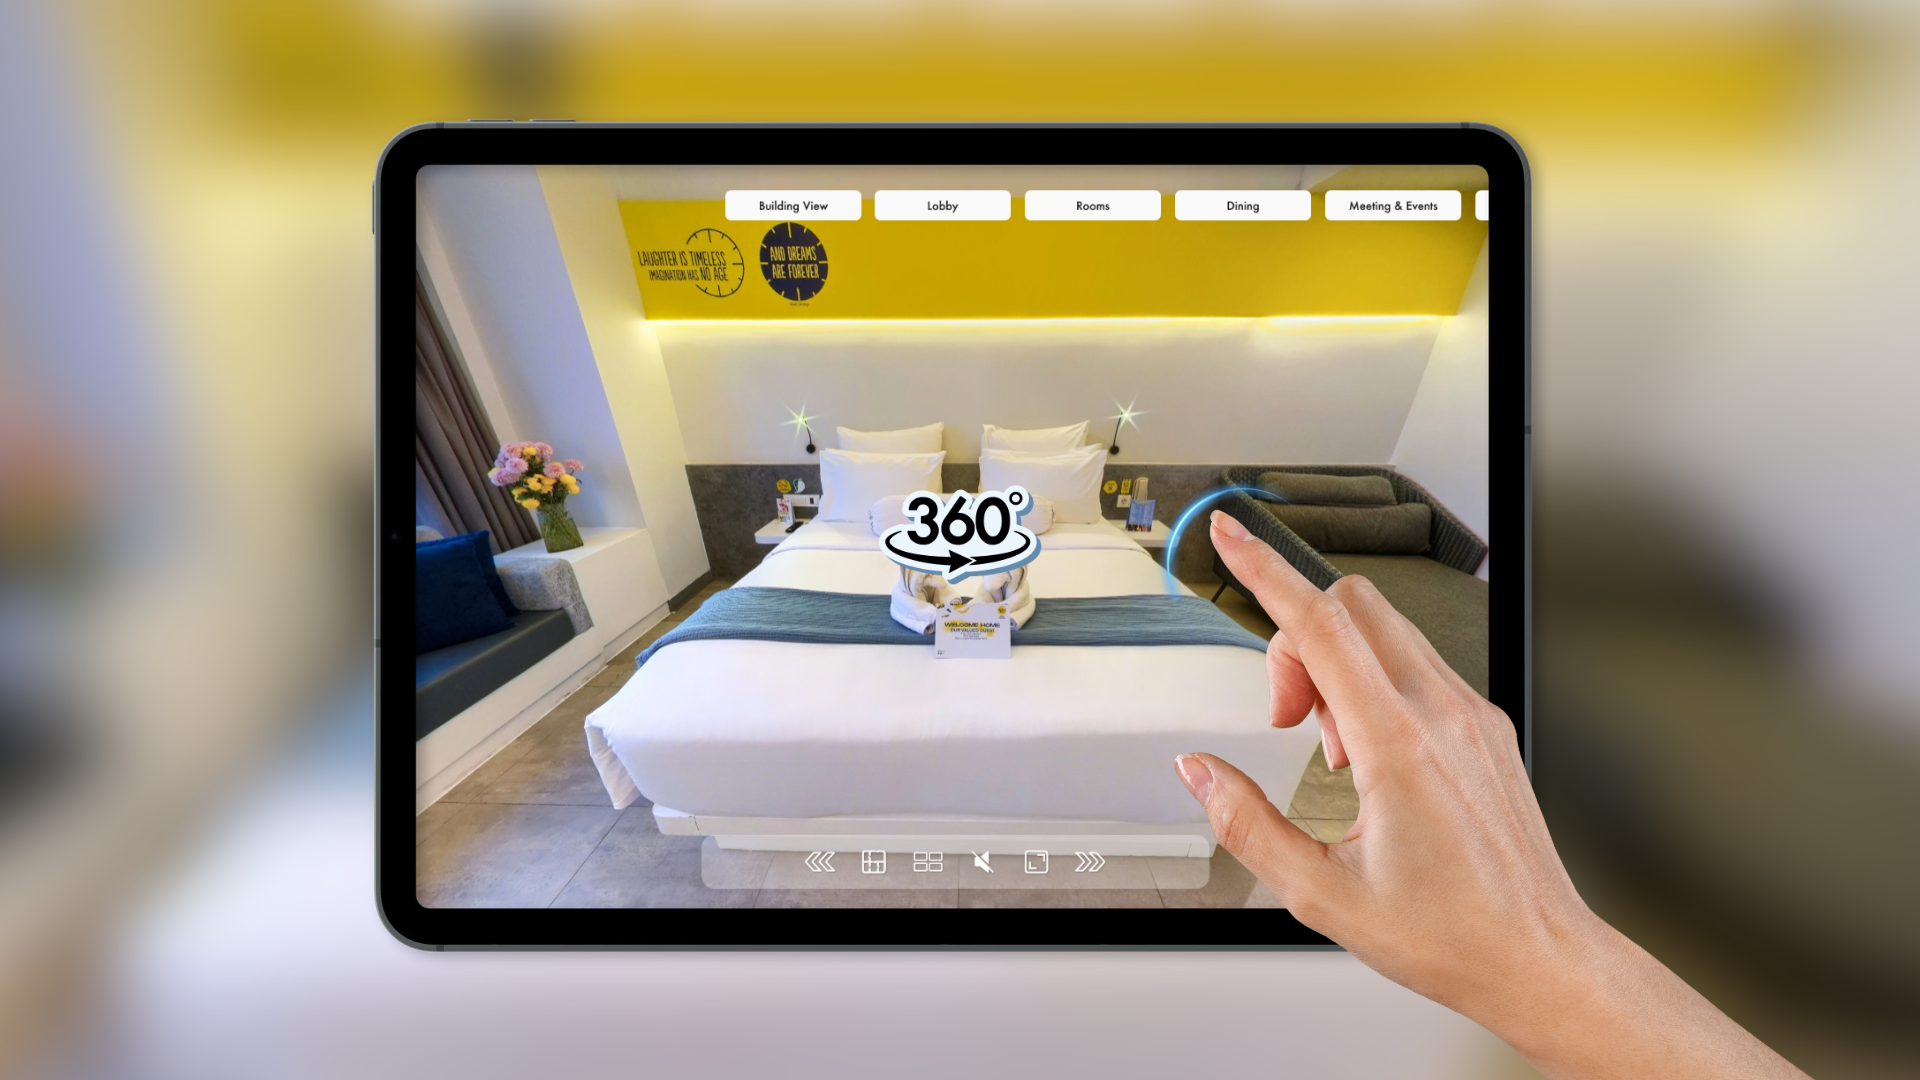
Clickable hotspots allow viewers to move from one standing point to another. A floor plan can also be included to show where each panorama is located within the property.
Additional information points may be used to highlight details such as room dimensions or material finishes.
A virtual tour should be checked before it is shared with prospective buyers or tenants.
Review the following:
Every panorama opens correctly as a full 360° image.
The horizon is level.
Lighting is balanced throughout the image.
Room details match the approved design or actual property.
Window views reflect the intended surroundings.
Every hotspot leads to the correct location.
The tour works on mobile devices.
The starting view highlights an important area of the property.
These checks help create a smoother experience and reduce the chance of confusing viewers.
Creating an effective 360° virtual tour requires careful planning, from selecting the right rooms to checking the final interactive experience.
When camera positions, visual details, and navigation are handled thoughtfully, a virtual tour can provide a clearer understanding of a property and complement the rest of its digital marketing materials.

Let's collaborate to turn your vision into an impactful digital success story.
Contact Expert